TOP > Getting Started > Connecting the Product to a Computer > Configuring the Interface Settings > Configuring the Interface Settings Using the All-In-One Tool > LAN Interface Settings
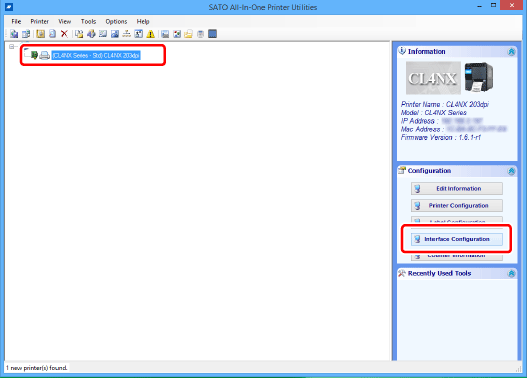
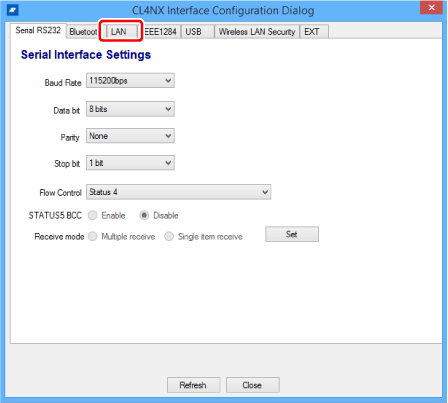
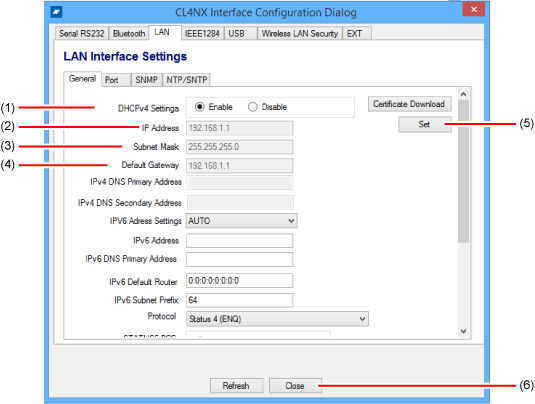
Confirm and configure the IP address of the product, which is added to the All-In-One Tool, from the [Interface Configuration] in the [Configuration] panel.