With the SATO RF Analyze function, you can automatically adjust the position of the standard antenna to suit the RFID tag you are using. You can record the results of the automatic adjustment in [RFID Tag Model]. Or, you can manually adjust the position of the standard antenna with [RFID Tag Model].
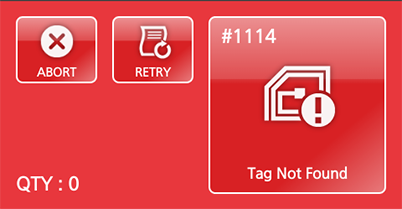
to execute adjustment, and then do the measurement again.
on the on-screen keyboard to confirm.
A confirmation screen appears when you tap [Save]. If the name you specify in [Model Name] is the same as an RFID tag model that is already registered, an overwrite confirmation message appears. TapIf you save the results of the SATO RF Analyze as an RFID tag model, you can manage them from this menu. Also, you can register RFID tag models manually from [Edit] in this menu.
![]()