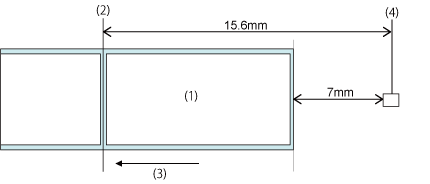
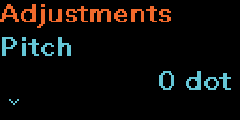
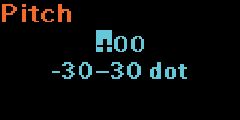
TOP > Adjusting the Product > Adjusting the Base Reference Point > Adjusting the Print Position Adjusting the Print Position Set [Pitch] in the [Printing] > [Advanced] > [Adjustments] menu to adjust the print position.(1) Print side(2) Head position(3) Media feed direction(4) Paper end sensorDetect -mark sensor or Gap sensor • The above base reference position (print position) becomes the stop position when the sensor type is set to Gap. 1. When in the printing (online) state in normal mode, press the (Print/Select) button. The product switches to the stopped state (offline).2. Hold down the and buttons for more than 2 seconds. The product switches to the settings mode.3. Check that [Printing] is displayed, and press the button. 4. Select [Advanced] using the button, and press the button. 5. Select [Adjustments] using the button, and press the button. 6. Select [Pitch] using the button, and press the button. 7. Select the sign using the button, and press the button. 8. Select the most significant digit using the button, and press the button. 9. Select the least significant digit using the button. The setting range is from -30 to +30 dots (1 dot = 0.125 mm (0.0049")).10. Once you have set the values, press the button. The input values are confirmed and the next setting item is displayed.11. Press the button 4 times. The stopped (offline) screen is displayed.12. Press the button. The product switches to the printing state (online).You can print to check the adjusted print position.Related TopicsAdjustments Mode Back to top