Executing SATO RF Analyze (For International Use Only)
Automatically moves the RFID standard antenna to measure RFID tags, and determine the conditions to write and read them consistently. The results of the measurement are applied immediately.

- Appears only if the module is UHF.
- The length from the leading edge of the tag or the trailing edge of the I-mark to the inlay must be at least 3 mm (0.12").
- The distance from inlay to inlay must be at least 15 mm (0.59").
Setting Measurement Conditions
Before using this function, configure the RFID tag write/read radio output power.
For information required for these settings, consult your SATO representative.
Using the Easy RFID Configuration feature of All-In-One Tool allows you to configure RFID settings more efficiently and accurately.
For details, refer to All-In-One Tool V2 User's Manual.
- From the settings screen, tap [RFID] > [SATO RF Analyze].
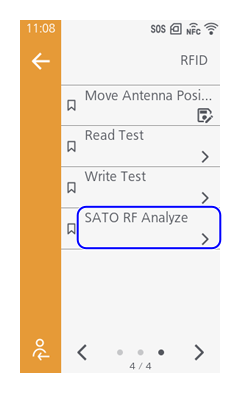
- Tap [Search Level], then tap the search level to execute.
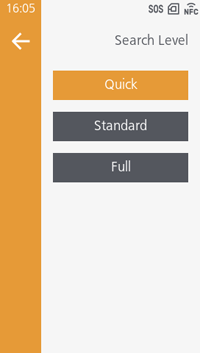
Initial value: [Quick]
- If the measurement is not successful using [Quick], which is the initial setting, try [Standard] and [Full], which require more time and are more precise measurements.
- Tap [Write Power], then set a value and tap
 .
.
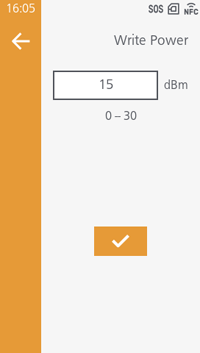
Initial value: 15 dbm
- The set value should be less than 24 dBm.
- This setting changes in conjunction with the [RFID] > [Write Power] setting.
- Tap [Read Power], then set a value and tap
.
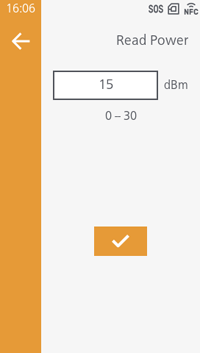
Initial value: 15 dbm
- The set value should be less than 24 dBm.
Executing SATO RF Analyze
Execute SATO RF Analyze using the measurement conditions that you set.
- Set the RFID tag to the product.
- In the [SATO RF Analyze] screen, tap [Start Search].
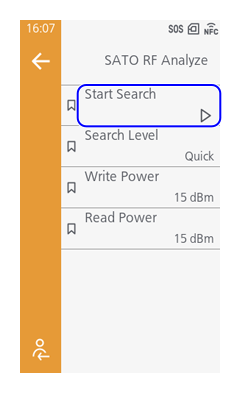
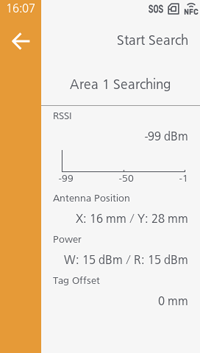
The measurement starts.
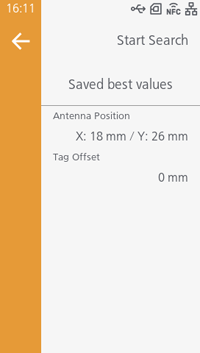
When the measurement is complete, the message "Saved best values" is displayed.
- If a measurement fails, a message appears prompting you to adjust the [Write Power] and [Read Power] values depending on the cause. Tap
 to execute adjustment, and then do the measurement again.
 - Once the [Write Power] and [Read Power] settings reach their maximum or minimum values, the message prompting adjustment will no longer appear.
- Do not open the head assembly while measuring. If you open the head assembly before you close the message asking you whether to save the settings, you will need to do the measurement again.
- Do not send a DC2 command to the product while measuring. If a wireless power setting command or a reset command is received, the measurement will not finish correctly.
- Continuous measurement may cause the RFID module to heat up, resulting in an overheat error of the RFID module. In such cases, wait until the heat of the RFID module cools down before taking measurements.
- If a measurement fails, a message appears prompting you to adjust the [Write Power] and [Read Power] values depending on the cause. Tap
SATO RF Analyze Related Errors
- Error Message 1019 (RFID Module Error)
This occurs when the SRA board is not installed or the SRA board settings are incorrect.
The SRA board needs to be installed or the settings need to be changed, so contact your SATO technical support.
Contact Information - Error Message 1133 (SRA Motor Unit Error)
This occurs when the SRA motor unit is not operating correctly.
The RFID board needs to be replaced, so contact your SATO technical support.
Contact Information
- When the above error occurs,
 is shown in the status bar.