CL4NX Plus/CL6NX Plus Operator Manual
SATO

MENU

How to Search

MENU

  • TOP (Table of Contents)
  • Getting Started
  • Searching from Category
  • Searching by Function Names
  • Searching According to What You Want to Do
  • Troubleshooting
  • Support and Warranty
Close
TOP > Getting Started > Connecting the Product to a Computer > Configuring the Interface Settings > Configuring the Interface Settings from the Interface Menu of the Product
Configuring the Interface Settings from the Interface Menu of the Product
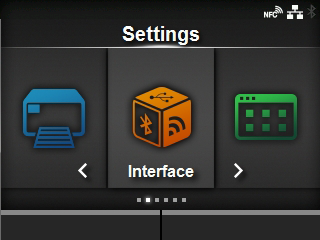
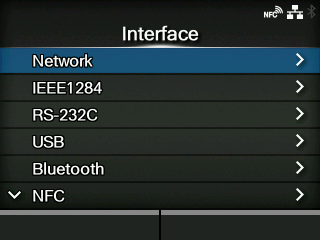
Configure the settings related to the interfaces from the [Interface] menu in the Settings mode of the product.
1.
Press the button in Online mode.
The product changes to Offline mode.
2.
Press the button.
The product changes to Settings mode.
3.
Select [Interface] using the / buttons.
4.
Press the button.
The item list appears.
5.
Select the interface using the / buttons.
[Network]
Sets the LAN connection and wireless LAN connection.
[IEEE1284]
Sets the IEEE1284 connection.
Appears only if the combo interface board is installed.
[RS-232C]
Sets the RS-232C connection.
Appears only if the combo interface board is installed.
[USB]
Sets the USB connection.
[Bluetooth]
Sets the Bluetooth connection.
Appears only if the optional Bluetooth is installed.
[NFC]
Sets the NFC connection.
[Ignore CR/LF]
Sets to ignore CR/LF codes.
[Ignore CAN/DLE]
Sets to ignore CAN/DLE codes.
[External I/O]
Sets the external signal (EXT).
Appears only if the combo interface board is installed.
[RFID] (RFID models only)
Sets the RFID.
Appears only for the RFID model.
6.
Press the button.
The settings items of the selected interface appear.
Change the settings according to the communication conditions of the connected network and computer.

Related Topics
[Interface] Menu

Back to top

© 2023 SATO Corporation. All rights reserved.