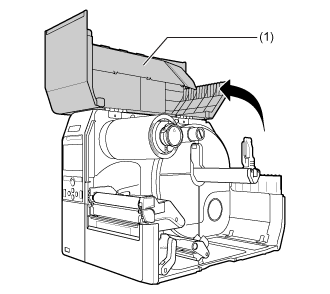
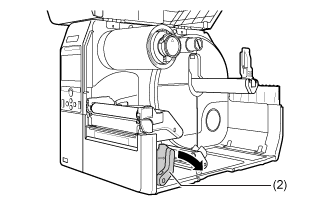
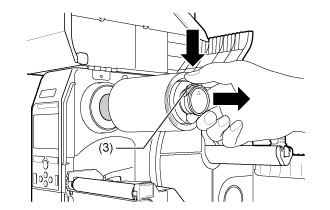
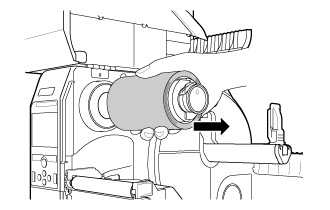
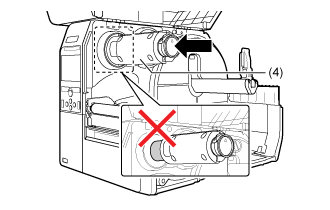
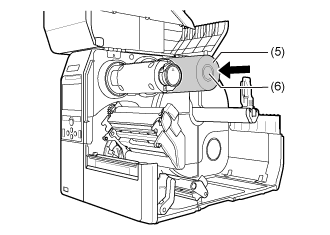
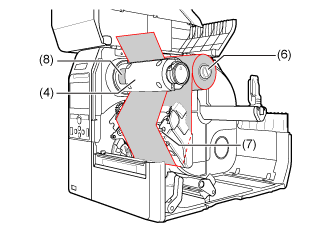
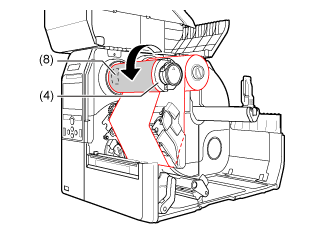
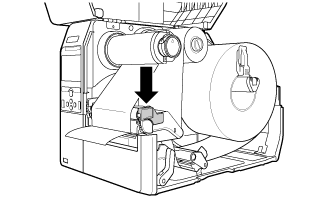
TOP > Loading Media and Ribbon > Loading Ribbon (Thermal Transfer Only) > Replacing the Ribbon Replacing the Ribbon View the video here (it has no audio).• For CL4NX Plus• For CL6NX PlusCL4NX Plus CL6NX Plus 1. Open the top cover (1). • Open the top cover fully to prevent accidental drop of the cover.2. Push the head lock lever (2) towards the rear. 3. Press the tab (3) on the tip of the ribbon rewind spindle to pull it out. 4. Pull to remove the used ribbon from the ribbon rewind spindle. 5. Push the ribbon rewind spindle (4) all the way in. 6. Remove the used ribbon core from the ribbon supply spindle. 7. Load the ribbon (5) onto the ribbon supply spindle (6). While taking note of the winding direction, insert the ribbon all the way in.8. From the ribbon supply spindle (6), pass the ribbon below the print head (7). 9. Wind the ribbon counterclockwise to the ribbon rewind spindle (4) and grip sheet (8). Turn the ribbon rewind spindle counterclockwise for several rounds, to wind the ribbon.10. Press the print head down until the head lock lever is locked. 11. Close the top cover. • When closing the top cover, be careful not to pinch your fingers.12. Press the button (FEED) in Offline mode to feed the media. 13. Press the button (ONLINE) to change to Online mode. Back to top