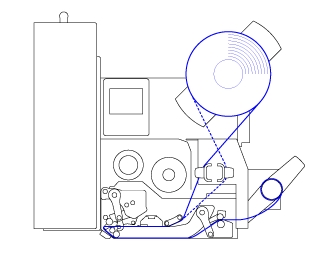
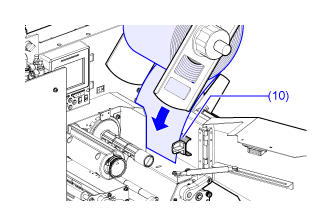
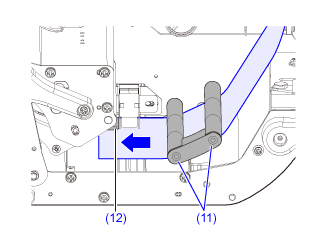
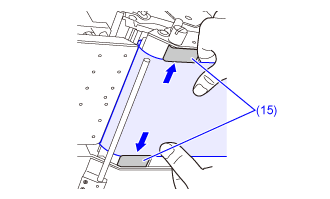
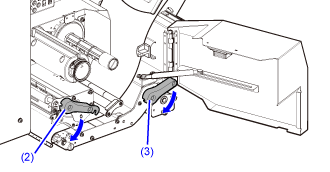
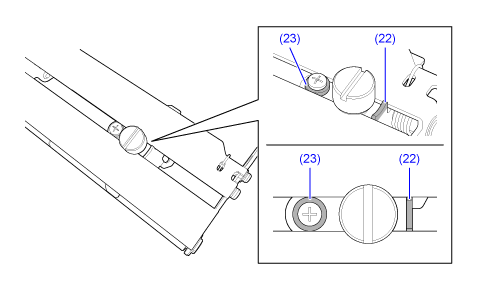
View the video here. (it has no audio).
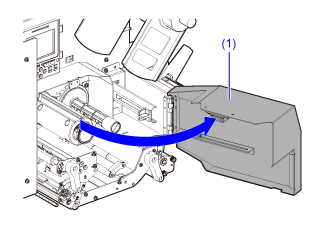
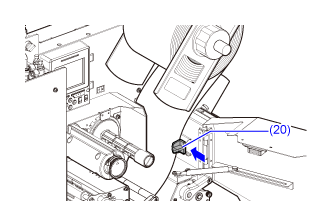
button stops the warning lamp's buzzer (if a warning lamp is connected).
![]()
![]()
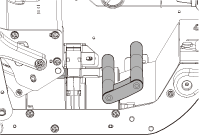
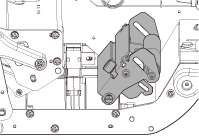
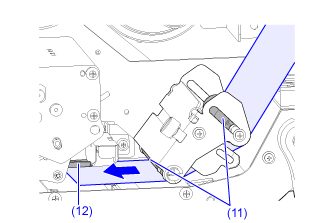
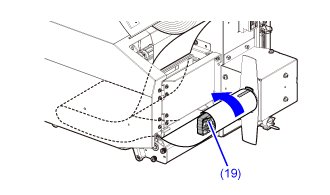
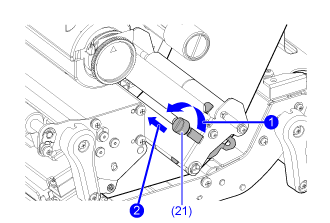
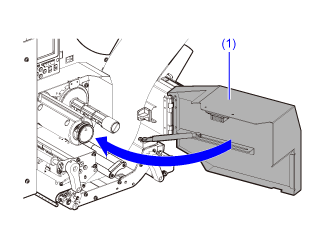
View the video here. (it has no audio).