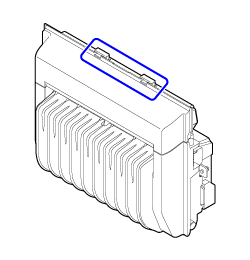
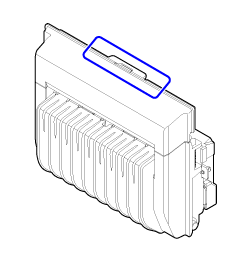
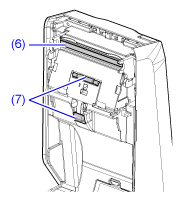
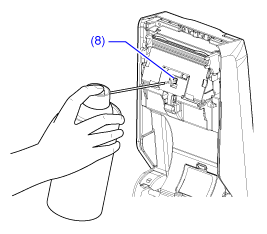
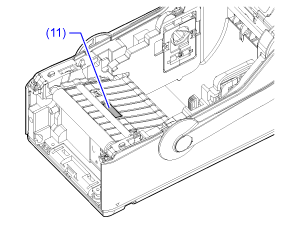
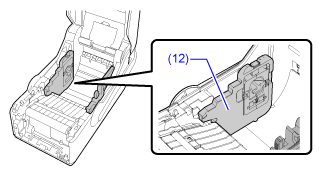
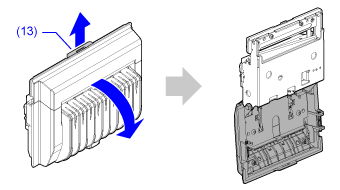
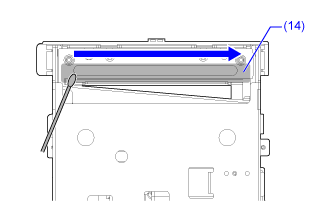
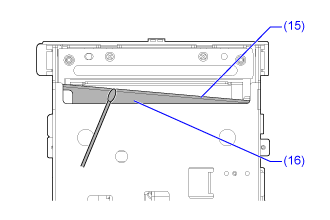
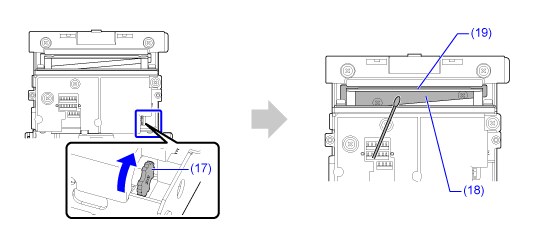
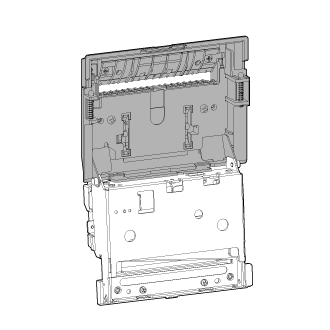
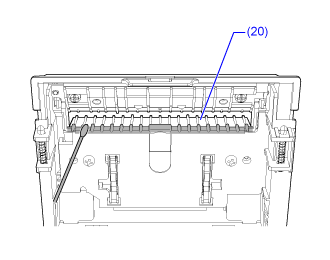
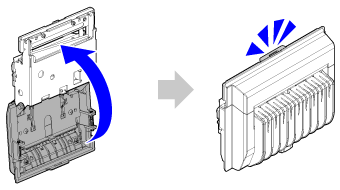
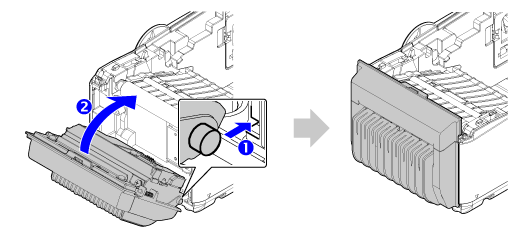
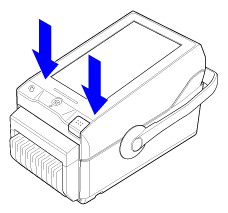
TOP > Maintenance > Cleaning the Product > Cleaning Using the Cleaning Kit (with Optional Linerless Cutter Kit (Type 2)) Cleaning Using the Cleaning Kit (with Optional Linerless Cutter Kit (Type 2)) 
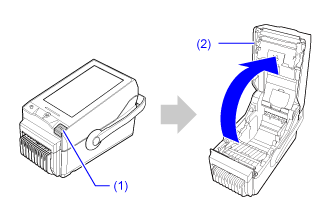
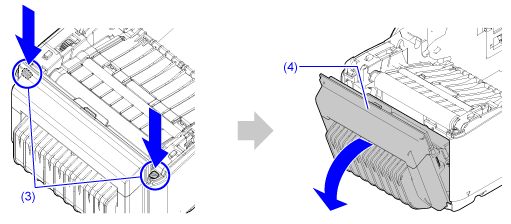
View the video here (it has no audio). If the optional linerless cutter kit (Type 2) is installed, follow the procedure below to clean the product: • Never use organic solvents, such as thinner and benzine to clean the product. • Be careful not to touch the cutter blade. • Handle the metal parts of the cutter kit carefully so that you are not injured by their sharp edges. • For details on the cleaning kit, refer to the manual attached to the cleaning kit. How to distinguish between linerless cutter kit (Type 1) and linerless cutter kit (Type 2) Confirm the shape of the part illustrated below. Linerless cutter kit (Type 1) Linerless cutter kit (Type 2) View the video below for the procedure. 1. Make sure that the product is powered off, and disconnect the power cord from the AC outlet or remove the optional battery. 2. Press the cover open button (1) to open the top cover (2). 3. Remove the media if it is already loaded. 4. While pushing the lock buttons (3) on both sides, tilt the cutter kit (4) toward the front to remove it. • Be careful not to touch the terminal (5) of the cutter kit.• When positioning the cutter kit, be sure the surface with the terminal (5) is facing upward.5. Clean the dirt off of the print head (6) and two rollers (7) using a cotton swab dabbed with cleaning liquid. • The print head and its surroundings are hot after printing. Wait until the product cools down.• Touching the edge of the print head with your bare hand could cause injury.6. Clean the sensor (8) using an air duster. 7. Clean the dirt off of the platen roller (9) and feed roller (10) using a cotton cloth dabbed with cleaning liquid. 8. Clean the dirt off of the liner sensor (11) using a cotton cloth dabbed with cleaning liquid. 9. Clean the dirt off of the media guide (12) using a cotton cloth. If a lot of glue adheres to the media guide and you cannot clean the dirt off, tap the media guide with some adhesive tape to remove the glue. • Never use cleaning liquid or alcohol to clean the media guide.10. Lift the tab of the cutter kit (13) briefly upwards and open the cutter kit. • When opening the cutter kit, be careful not to pinch your hands or fingers.11. Take one adhesive cotton swab for cleaning from the plastic wrap, and clean off the glue on the fixed cutter blade (14) from the front side with the blue end of the cotton swab. Move the cotton swab from side to side and rotate it to twist up the glue. • Be careful not to touch the cutter blade. • Be careful not to clean off the grease.• The adhesive cotton swabs for cleaning are supplied with the optional linerless cutter kit.• Use a new adhesive cotton swab for each roll of the linerless labels.12. Clean off the glue on the movable blade with the blue end of the cotton swab. Move the cotton swab from side to side and rotate it to twist up the glue. • Be careful not to touch the cutter blade. • Be careful not to touch the terminal of the cutter kit.a. Clean two parts ((15) and (16)) from the front side. b. Turn the cutter kit over and clean (15) from the back side. c. Turn the movable blade position adjustment dial (17) to raise the position of the cutter blade, and then clean the blade part (18) which can be seen in the space where the media passes, and the plate (19). • After you have raised the position of the cutter blade, lower its position to the bottom.13. Hold the cutter cover side of the cutter kit. 14. Clean the glue off of the media discharge outlet (20) from the back side of the cutter cover with the light blue end of the cotton swab by moving it from side to side and rotating it to twist up the glue. 15. Assemble the cutter cover side of the cutter kit that was tilted so that the upper tab of the cutter kit clicks. • When closing the cutter kit, be careful not to pinch your hands or fingers.16. Clean the glue off of the cutter cover (21) with the light blue end of the cotton swab by moving it from side to side and rotating it to twist up the glue. 17. Insert the pins of the cutter kit so that they are aligned with the guides (), and attach the top of the cutter kit so that it fits onto the product and the buttons on both sides click (). 18. Reload the media if you removed it in step 3. 19. Close the top cover. Push both ends of the top cover, and close it firmly until it clicks. • When closing the top cover, be careful not to pinch your fingers.Related TopicsLoading the Media Back to top