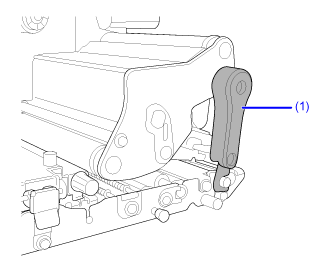
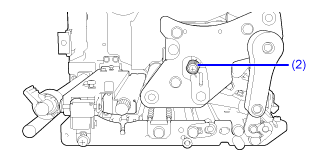
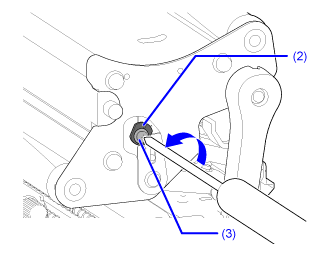
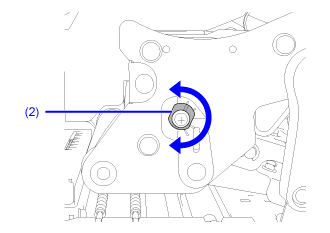
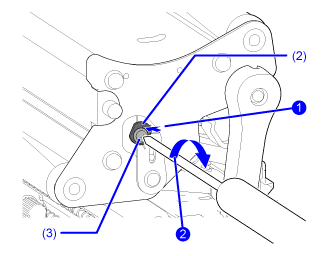
TOP > Adjusting the Product > Adjusting the Head Position > Left - Right Pressure Balance Setting Left - Right Pressure Balance Setting Required tool• Phillips screwdriverThe adjustment procedure for the pressure balance is as follows: 1. Open the top cover of the product. 2. Make sure that the head lock lever (1) is in the lock position. If it is not locked, turn the head lock lever counterclockwise to lock the print head.3. Find the adjust collar (2) on the side of the print head assembly. 4. Loosen the screw (3) attached to the adjust collar (2). Do not remove the screw.5. Turn the adjust collar (2) to adjust the head pressure balance. Turn the adjust collar counterclockwise to increase the head pressure on the frame side.Turn the adjust collar clockwise to increase the head pressure on the opposite side. • If the product orientation is opposite from the image, the adjustment direction is reversed.6. Hold the adjust collar (2) in the set position and tighten the screw (3) . Related TopicsProduct Orientation Back to top