Installing the Package File via Web Browser
This installation option is possible only when the printer is connected using a LAN/wireless LAN interface, and your IT system allows you to accept the security certificates when prompted.
Please refer to the printer’s operator manual on the [Accessing to the Web Configuration] page.
The link to the printer's operator manual is on the Supported Printers page.
* This manual uses screenshots of the CT4-LX series printer for its descriptions. The appearance of the screens may vary when using other SATO printers.
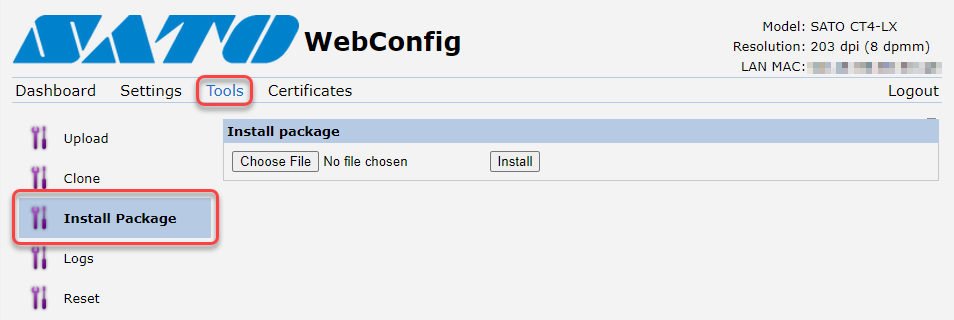
After accessing and logging in to the printer's WebConfig page, click the [Tools] > [Install Package] tab.
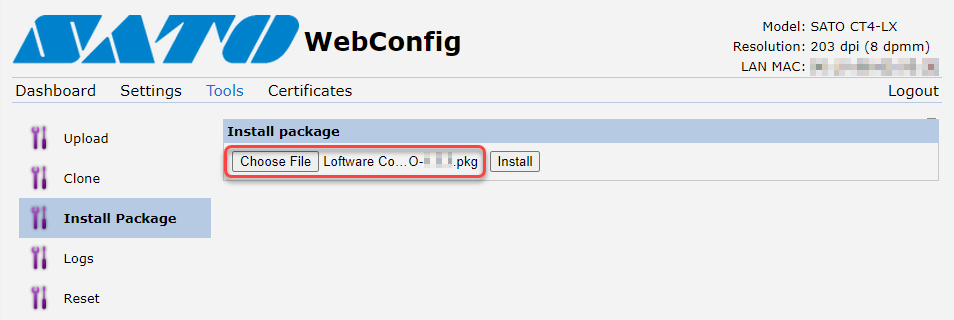
Click [Choose File] and select the edited [Loftware Connector for SATO] package file (.pkg).
Click [Install].
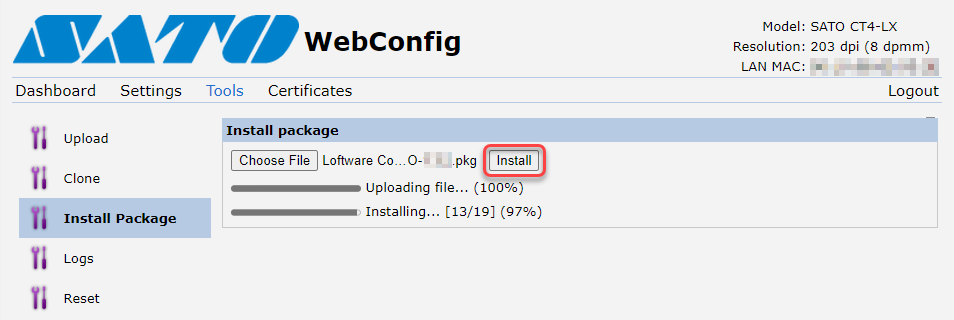
The printer automatically restarts after the installation is completed.
If the serial number matches, the printer completes the connection process and displays the [AVAILABLE] screen.
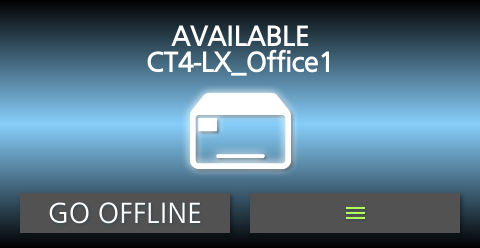
Your printer is configured and connected to Loftware Cloud.
The Control Center lists your printer in the Cloud printers section with the status [Connected]. Your SATO printer is connected and ready to use.
Repeat steps 1 through 3 to install the package file to the next registered printer and connect it to the Loftware Cloud.