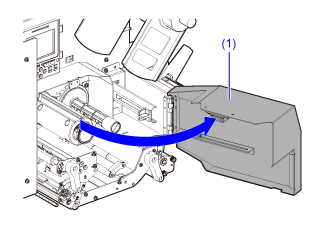
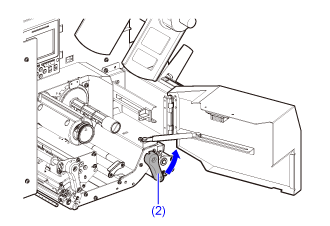
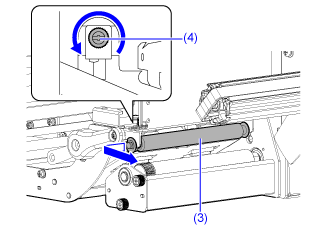
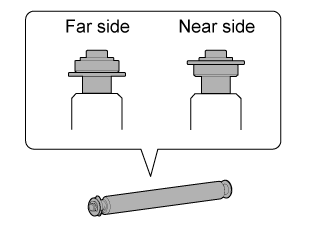
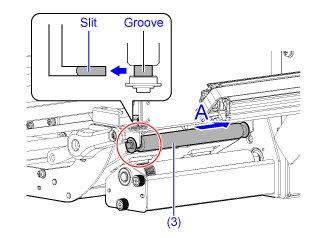
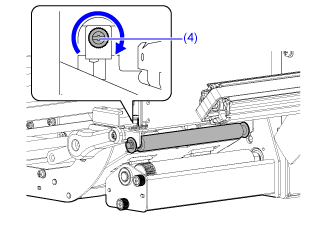
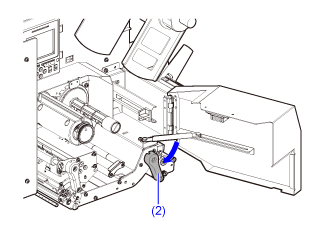
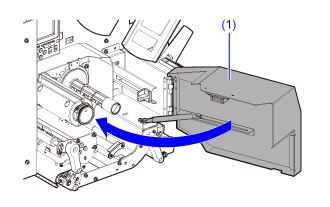
TOP > Maintenance > Replacing Consumable Parts > Replacing the Pressure Nip Roller Replacing the Pressure Nip Roller View the video here. (it has no audio). You can easily remove and replace a damaged or worn pressure nip roller. • Do not power on or off the product, or connect or disconnect the power cord while your hands are wet. Doing so could cause an electric shock. • Disconnect the power cord from the AC outlet before you replace the pressure nip roller. View the video below for the procedure. 1. Make sure that the product is powered off, and disconnect the power cord from the AC outlet. 2. Open the front cover (1). • Open the front cover fully to its limit.3. Open the nip lock lever (2) to unlock it. 4. Remove the media and ribbon if they are already loaded. 5. Remove the mounting screw (4) for the pressure nip roller (3), and then slide the pressure nip roller (3) towards you to remove it. 6. Install the new pressure nip roller (3). a. Insert the groove on the pressure nip roller (3) into the notch on the front mounting bracket, and then press the pressure nip roller in the direction A. • Be sure to install the pressure nip roller (3) onto the product in the orientation shown below.b. Fasten with the mounting screw (4). 7. Load the media and ribbon back if you remove them in step 4. 8. Close the nip lock lever (2). 9. Close the front cover (1). • When closing the front cover, be careful not to pinch your fingers.Related TopicsReplacing the Print HeadReplacing the Platen RollerReplacing the Nip Roller Back to top