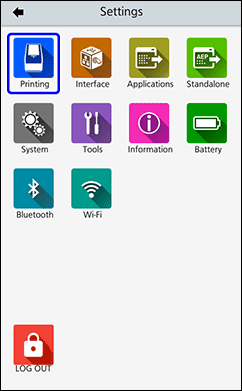
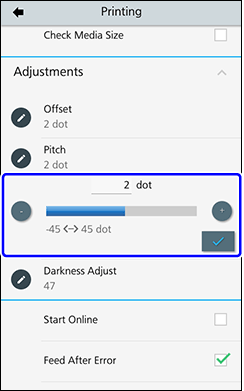
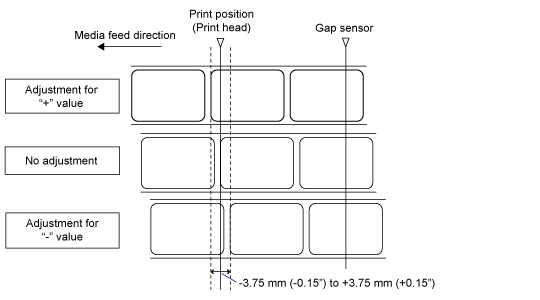
TOP > Adjusting the Product > Adjusting the Base Reference Point > Adjusting the Print Position Adjusting the Print Position Set the [Pitch] in the [Printing] > [Advanced] > [Adjustments] menu to adjust the print position. • The above base reference position (print position) becomes the stop position when the sensor type is set to Gap. 1. Tap on the Home screen or Offline screen to show the [Settings] menu. 2. Input the password if it is enabled. 3. Tap [Printing]. 4. Tap [Pitch] under [Advanced] > [Adjustments] menu. 5. Change the setting value. The setting range is from -45 to +45 dots. • The length of 1 dot is 0.083 mm (0.0033").• You can change the units to dots, " (inches), or mm in the [System] > [Regional] > [Unit] menu.6. Tap to save the setting value. 7. Press the / (Standby/Home) button to show the Home screen. 8. Press the / (Standby/Home) button again to change to Online mode. You can print to check the adjusted print position.Related TopicsLogging In to/Logging Out of the Settings Mode[Unit] Back to top
 on the Home screen or Offline screen to show the