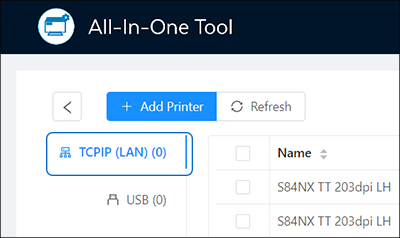
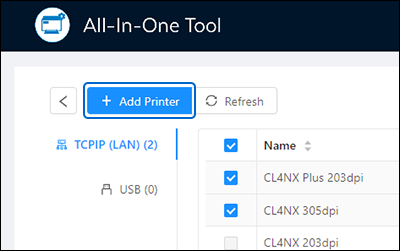
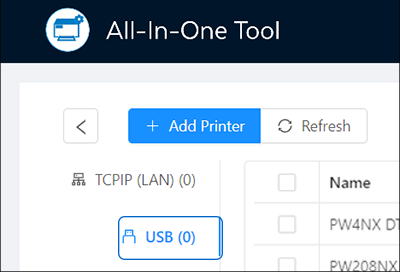
1. | Click [TCP/IP (LAN)]. It is selected by default. |
1. | Click [TCP/IP (LAN)]. It is selected by default. |
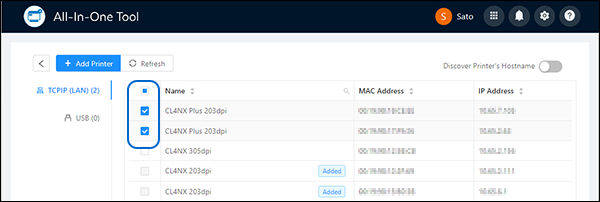
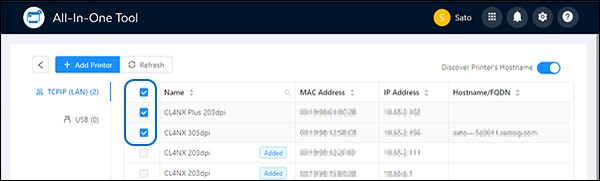
2. | Toggle the [Discover Printer's Hostname] switch to display the printer's hostname.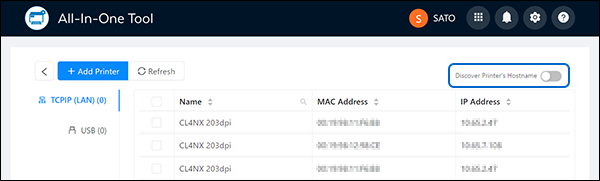 |
3. | Click [OK] after ensuring that no application is blocking access to the port. The default port for discovering the printer is 9100. 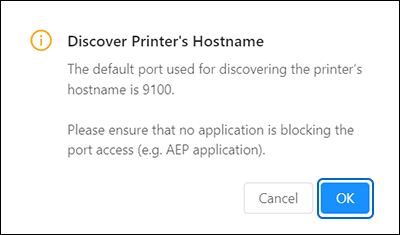 |
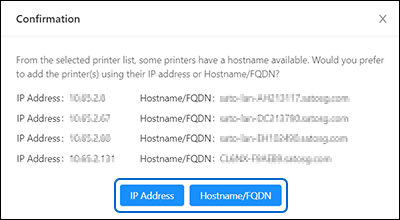
| • | A [Confirmation] dialog is shown if any printers in the selected list have both an IP address and a hostname. |
◦ | Click [IP Address] to add via IP Address. |
◦ | Click [Hostname/FQDN] to add via Hostname/FQDN. |
|
- Related Topics