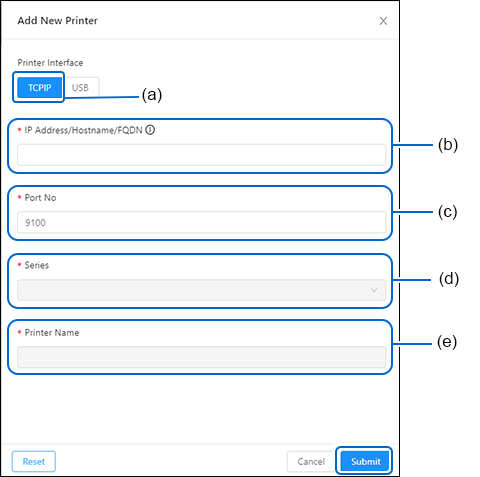
1. | Click [TCP/IP] (a). It is selected by default. |
2. | Click the [TCP/IP Encryption] (b) toggle switch if the printer encryption is enabled. This allows the All-In-One Tool to communicate with the printer. |
◦ | If the printer is detected, the printer series (f), printer name (g) and printer serial number (h) fields are automatically set. You may modify the printer name (g) to your preference. |
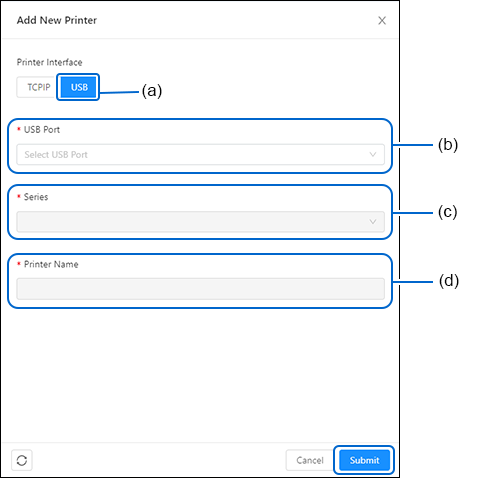
◦ | If the printer is detected, the printer series (d), printer name (e) and printer serial number (f) fields are automatically set. You may modify the printer name (e) to your preference. |
- Related Topics


to refresh.