Registering Cloud Printer in the Loftware Control Center
In the Loftware Control Center, go to [Printers] and select the [Cloud Printers] tab.
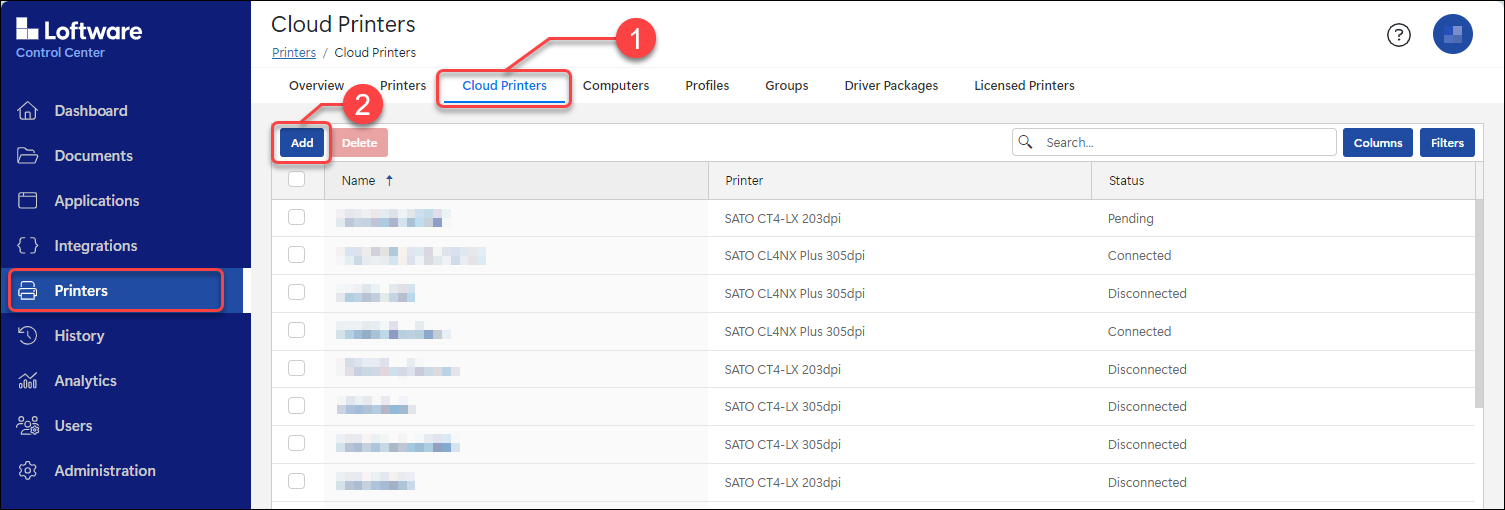
Click the [Add] button.
The [Add New Cloud Printer] screen is displayed.

In the [Name] box, enter the preferred printer name.
The printer's screen will display the printer name once the printer is connected.
- Use only alphanumeric characters, underscores ('_'), and hyphens ('-'). Avoid using spaces and most symbols, as they are not supported.
- The printer name must not exceed 30 characters to be properly displayed on the connected printer's screen.
From the [Printer] drop-down list, select the printer model.
Once you have set the [Name] and selected the [Printer], the [One-time connection key] will be generated and displayed.
Copy the [One-time connection key] for later use.
Use this as the password to connect the printer to the cloud.
Click the Download link to download the latest [Loftware Connector for SATO] application package for connecting the printer.
This step is unnecessary if you already have the latest [Loftware Connector for SATO] package.
Click [Save].
Click [OK] on the dialog to proceed.
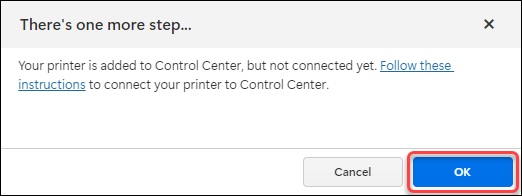
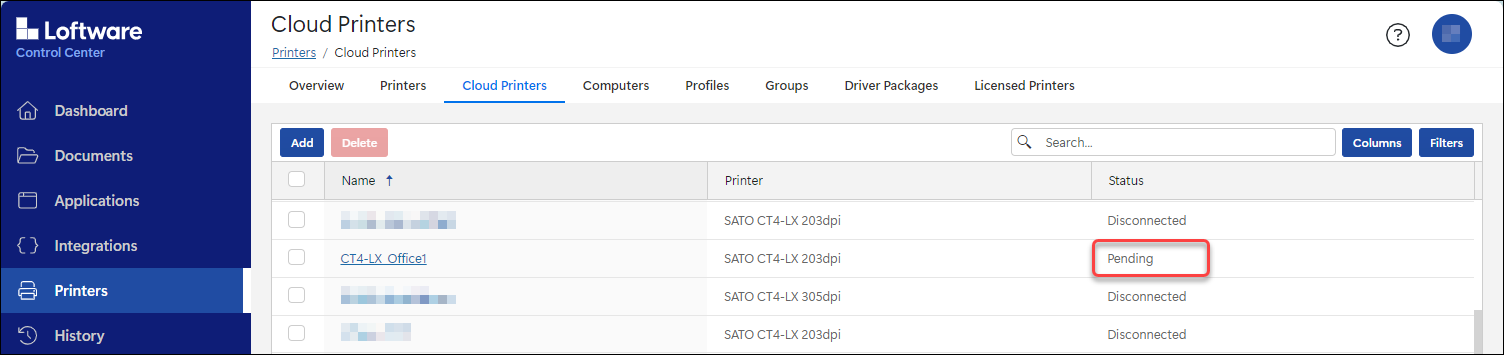
The registered printer is displayed on the [Cloud Printers] list but has yet to be connected. Its status is [Pending].
Configure the printer to connect to the Loftware Cloud.
You can configure your printer using the following three options.
Configuring a Single Printer Manually
Configuring Multiple Printers Using a CSV File
Configuring Multiple Printers Using the AEP Utility 3 Application