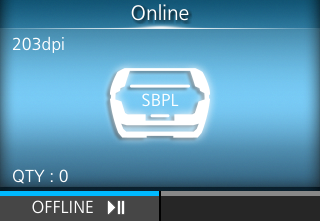
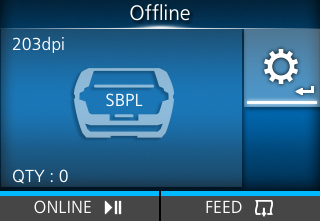
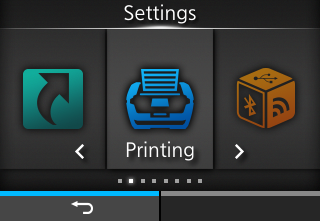
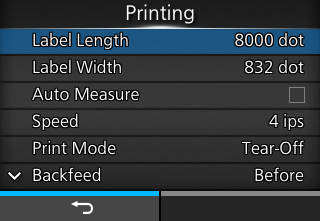
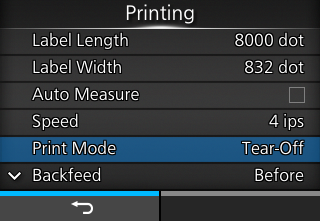
TOP > Loading Media > Settings to Match the Media > Manually Setting the Print Mode Manually Setting the Print Mode You can change the print mode of the product according to its usage.The product has the following print modes:[Continuous]Prints the specified number of media. The media remains in position for printing at all times.[Tear-Off] (Feeding media to the position for manual cutting)After printing the specified number of media, the product feeds the last printed media so that it is fully extended out of the product’s front for removal. After printing, tear off the media manually. The media will be back to the print head position to start the next printing.[Dispenser]Peels the liner from the printed label as the label is fed to the product’s front. Once the printed label has been removed from the product for application, the next label will retract and position itself for printing.[Linerless tearoff]The product feeds each printed media so that it is fully extended out of the product's front for removal. After printing, tear off the media manually. The media will be back to the print head position for starting the next printing.Select this when using a linerless label on a linerless model. • To select [Dispenser], you need to pull out the product's dispenser unit when loading media. You can set the print mode by using the startup guide. Alternatively, the following procedure can be used. 1. Press the button (OFFLINE) or button in Online mode. The product changes to Offline mode.2. Press the button. The product changes to Settings mode. • Input the password if it is enabled.3. Select [Printing] using the / buttons. 4. Press the button. The item list appears.5. Select [Print Mode] using the / buttons. 6. Press the button. The [Print Mode] screen appears.7. Select the print mode using the / buttons. 8. Press the button () to confirm. Related TopicsLogging In to/Logging Out of the Settings ModeLoading the Media Roll: Dispenser ModeStartup Guide Flow[Print Mode] Back to top