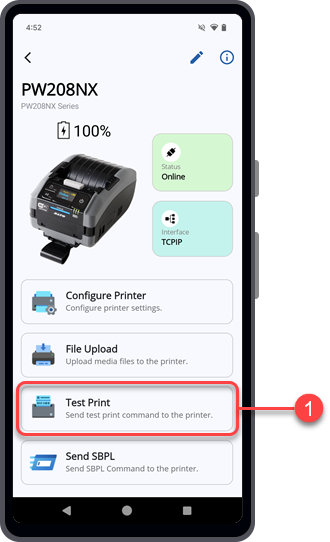
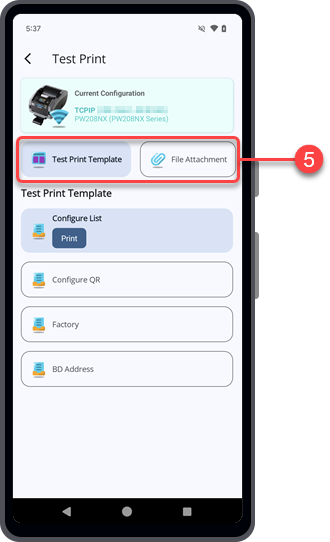
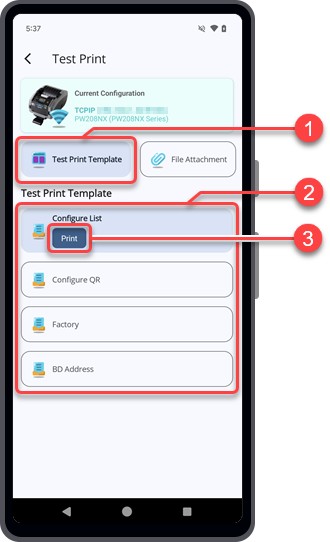
TOP > Various Functions of the Application > Test Print
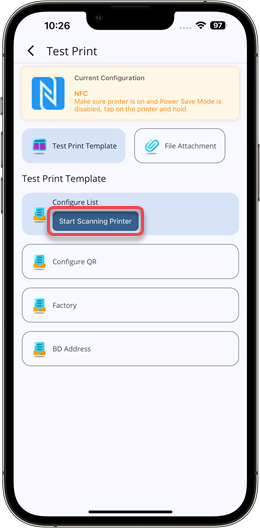
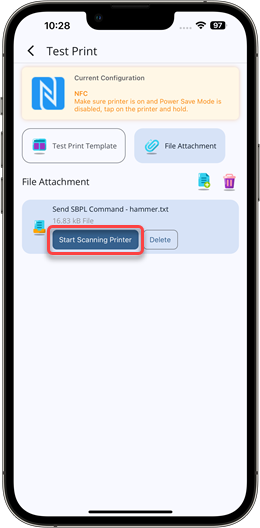
Switch printer icon, and then select [Use NFC interface].
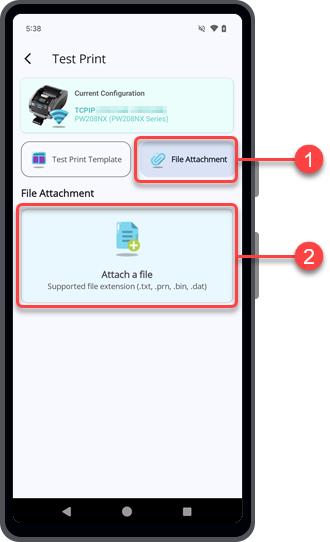
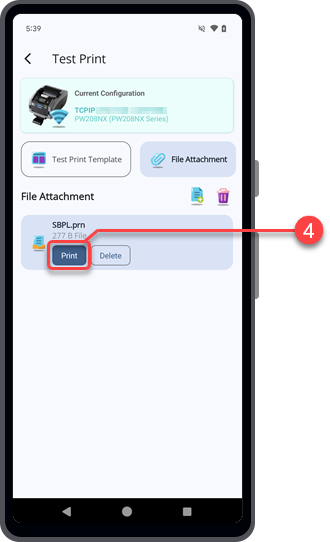
to add more files.
to delete all the attached files.
![]()
![]()