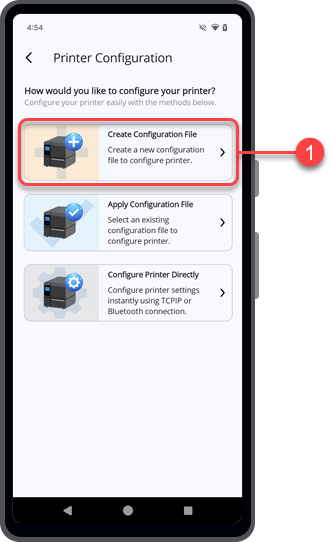
TOP > Various Functions of the Application > Printer Configuration > Creating Printer Configuration File
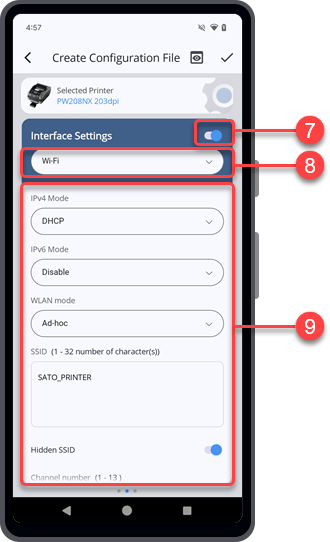
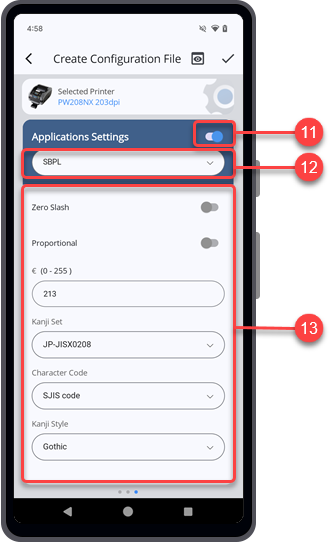
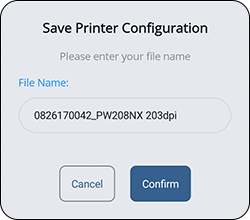
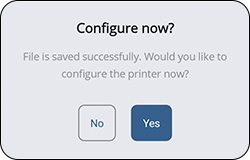
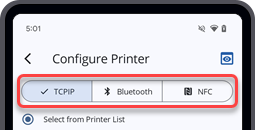
This functionality allows users to create and save a new configuration file to configure the printer via Wi-Fi, Bluetooth, or NFC interface. It allows users to easily change the printer configuration from the default setting as shown on the [Create Configuration File] screen and apply the saved file to the selected printer.
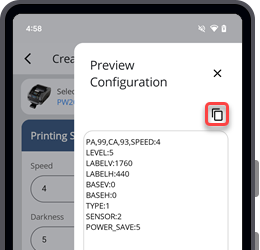
on the upper right corner of the [Create Configuration File] screen to preview the content of the printer configuration file.
Tapto copy the content to the clipboard.
icon located next to the PIN code field to show the password you have typed in.
on the upper left of the screen.

 to close the
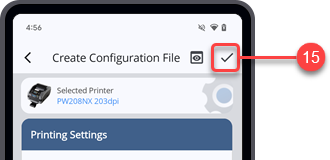


![]()
![]()