TOP > Various Functions of the Application > Easy RFID Configuration
1.
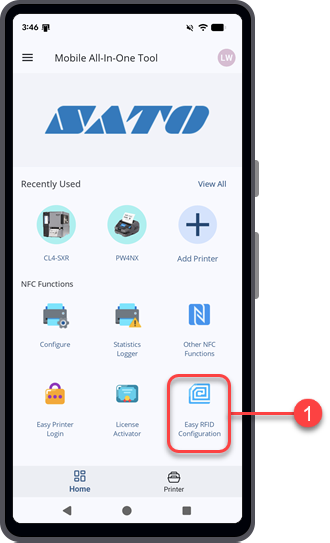
On the [Home] page, tap [Easy RFID Configuration].
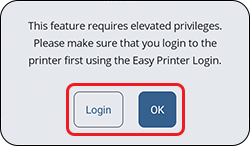
After you log in, return to the [Easy RFID Configuration] screen.
5.
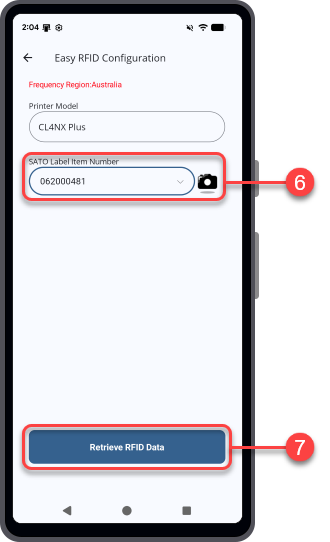
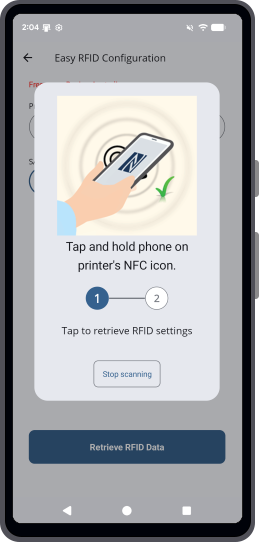
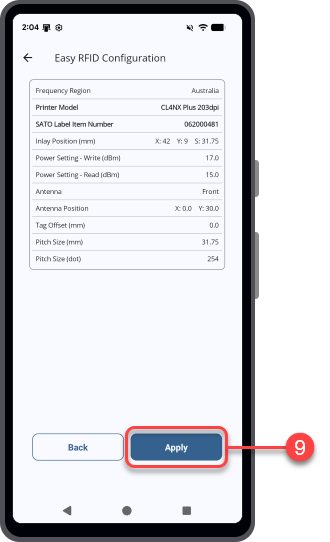
After the printer data is retrieved, the [Easy RFID Configuration] screen displays the frequency region, printer model, and the [SATO Label Item Number] field.
6.
Specify the [SATO Label Item Number] by using one of the following methods:
Tap to scan the label item number barcode on the RFID tag package or the QR Code on the label core.
7.
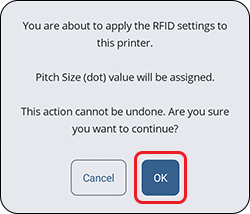
Tap [Retrieve RFID Data].
If a negative [Tag Offset] value is detected, the [Print Mode] is set to [Continuous].
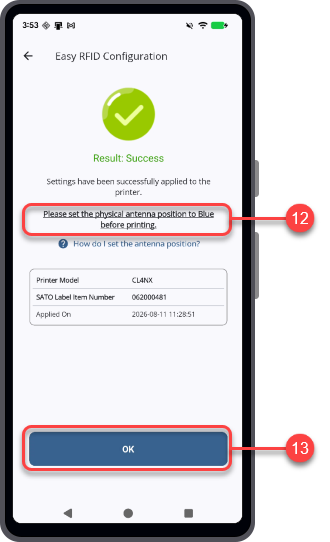
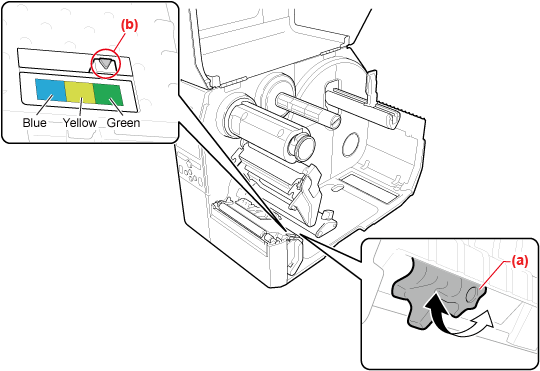
For CL4NX and CL4NX-J printers, adjust the physical position of the RFID antenna according to the requirements of the label and inlay that you use.
Printer interior showing RFID antenna adjustment lever and color indicator.
For CL4NX Plus, CL4NX-J Plus, CL4-SXR, CL6NX Plus, CL6NX-J Plus, CL6-SXR, CT4-LX, and S84NX (International Model) printers, reboot the printer so that it can automatically adjust the antenna position to suit the RFID tag.
13.
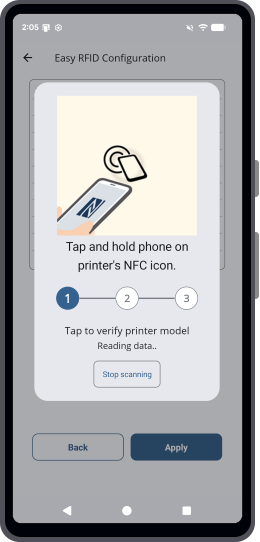
Tap [OK] to return to the start of the [Easy RFID Configuration] screen.
Tap [Verify Status] on the [Easy Printer Login] page to check whether printer login is required. You can also log in to the printer using the NFC interface from this page.
To exit [Easy RFID Configuration], tap on the upper-left corner of the screen.
 

Top

Back